Boat Project Mode, Again!
This post contains affiliate links. If you purchase through a link below, I may earn a commission at no extra cost to you. Thank you so much! I only recommend products I use or believe will be something you’ll love!
We weren’t looking for a refit project when we bought our Compac 33. But after weighing out the pros and cons of all the variables that go into choosing a boat, which includes budget and where to make compromises, we mustered up the energy to do another refit. Here we go again!
Winter Months
Over the winter months, we made lists, researched ideas, and ordered parts in preparation for a concentrated few months of boat projects this spring.
Sewing Project
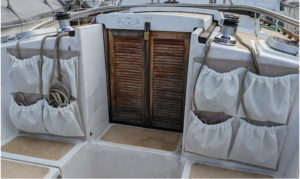
There were a few items we could work on during the winter months. One was a sewing project to make a sheet bag for our cockpit. Tony is the tailor in our family and did a fantastic job modifying a sailrite kit to make replacement sheet pockets.
Gear From Terrapin
When Terrapin was totaled, we were able to salvage some of our gear and stored it in a storage unit in FL. Our storage locker was up on the 2nd level which wasn’t a big deal when we loaded our stuff because the storage unit provided an electric lift.

Over the winter, we took a road trip to FL to empty our things and arrived to find that the electric lift was broken! Up and down the portable staircase we went. “Should we use the 5 and 1 block to get heavy items down?” I suggested. “That’s a good idea” Tony replied, “once we find the 5 & 1! Of course, it was in one of the last bins we went through.
Dinghy
Another little road trip over the winter months was to Michigan to buy a used inflatable RIB dinghy. The Mackinac bridge all lit up at night was very pretty!
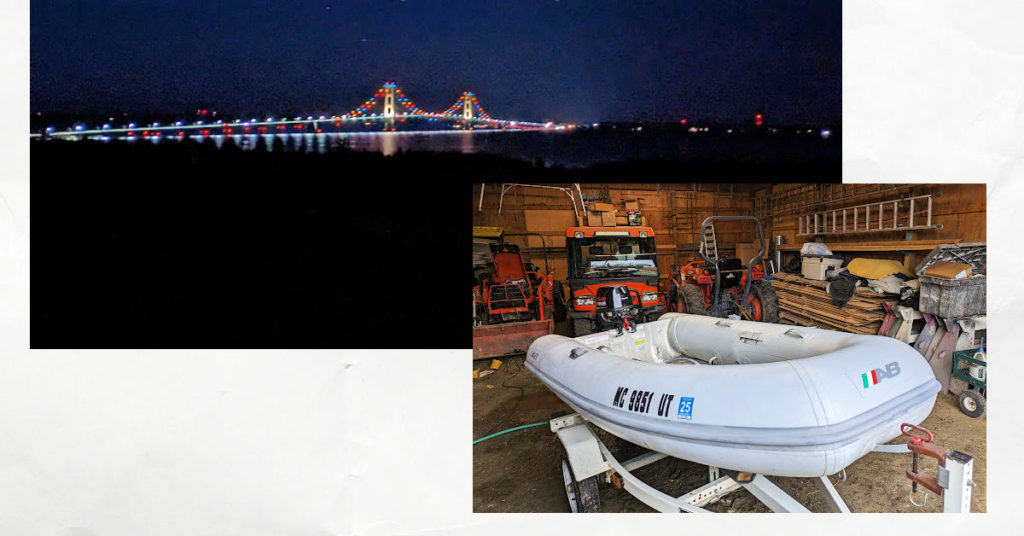
For long-term cruising, our dinghy is like a car. Although we purchased a used rowing/sailing Walker Bay last August, we knew that “row, row, row your boat” doesn’t always work out so well for liveaboard cruisers.
A Cold Spring
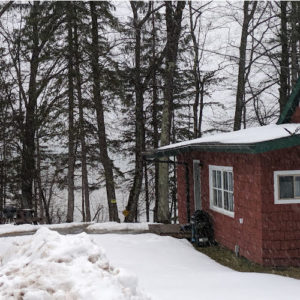
We were optimistic about a warm spring and planned to start on boat projects on April 1st. It wasn’t warm! The first morning Tony left the cabin to start working on our boat projects, it was snowing!
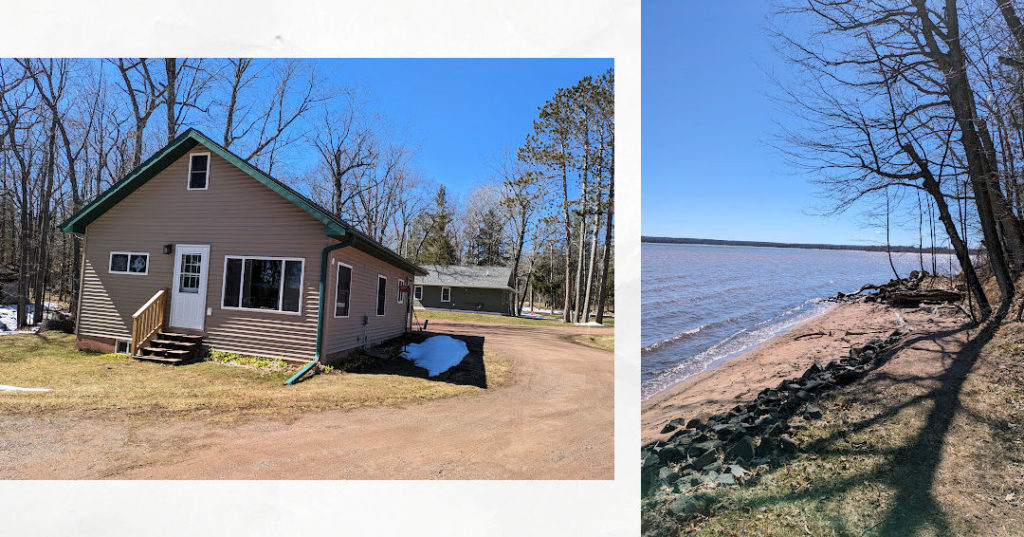
At least we had rented a cabin at Mission Springs Resort to have a warm and comfortable place to stay for the month. As we get older, we’re treating ourselves to a few more creature comforts – like having heat for our living quarters and a full kitchen for meals while working on our boat on the hard.
So Many Projects!
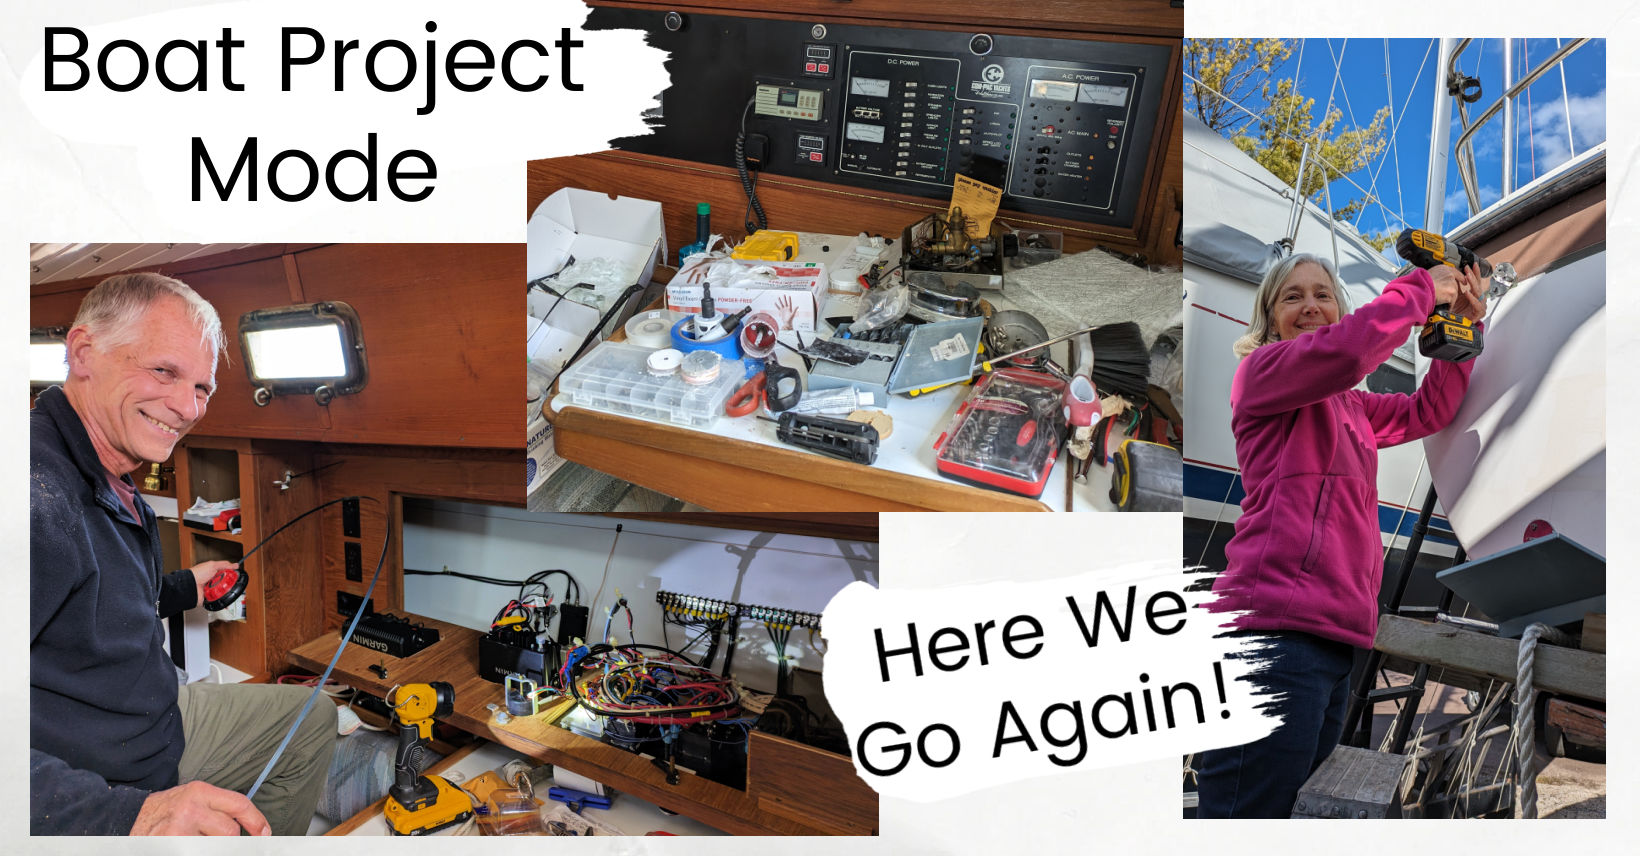
With pages of project notes and a fully packed CRV of boat gear, it was overwhelming to know where to start. Our launch date was set for the end of April so our priorities were any items related to being ready to launch.
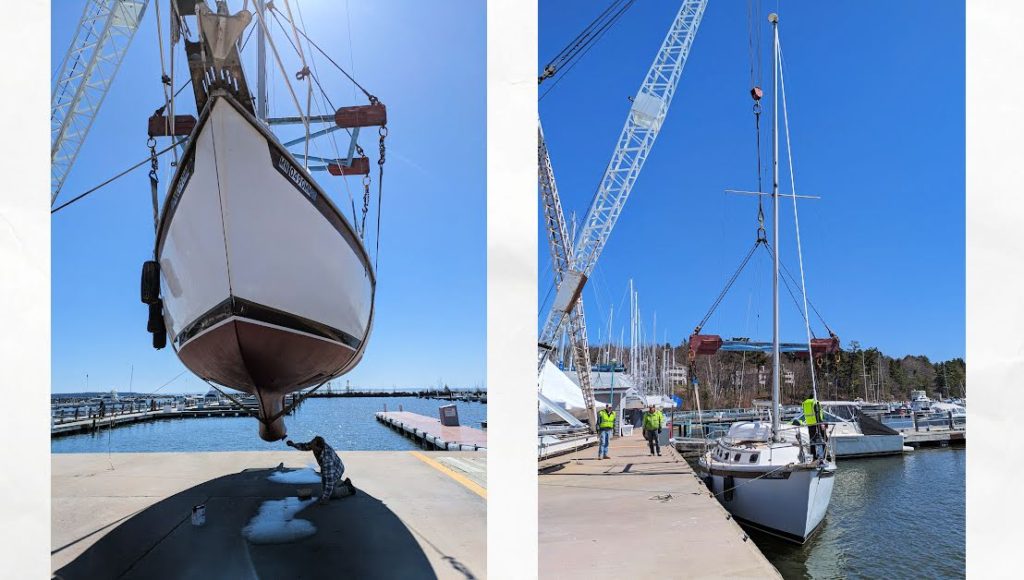
The weather didn’t always cooperate with that approach! We had to keep close tabs on the weather and match up our tasks with rain, snow, and temperature forecasts.
For example, to paint the bottom, Sea Hawk’s website said to paint when the temp was over 50. Not many days in April were warm, but we sure appreciated them when they came!
Thru-hulls and bottom paint were priorities on our list to be ready for launch, but we also hoped to install our swim platform while on the hard. Some projects go smoothly and without a hitch while others present problem-solving opportunities. The swim platform was the latter.
Teamwork
Tony & I think we make a good team for things like refitting a boat. I enjoy aspects like researching, ordering supplies, and coordinating arrangements. Tony shines in the technical and hands-on tasks of boat projects. And when Tony needs a second pair of hands, I’m a ready and happy assistant!
Avoiding Burnout
When you’re working intensely on any project, the possibility of burnout is real. How can we try to avoid burnout? Here’s a couple of our strategies.
Coffee and Tea Time
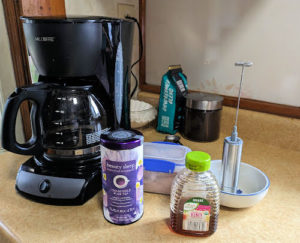
Keeping to a simple routine of having morning coffee (with almond milk, hot chocolate, and honey) and an evening tea time is helpful for us. It makes any place feel a bit more like “home”. One evening, I didn’t finish my cup of chamomile tea and the next morning Tony poured coffee with the fixings into my mug without looking. Chamomile, chocolate, coffee latte? I don’t recommend it!
VBerth Sanctuary
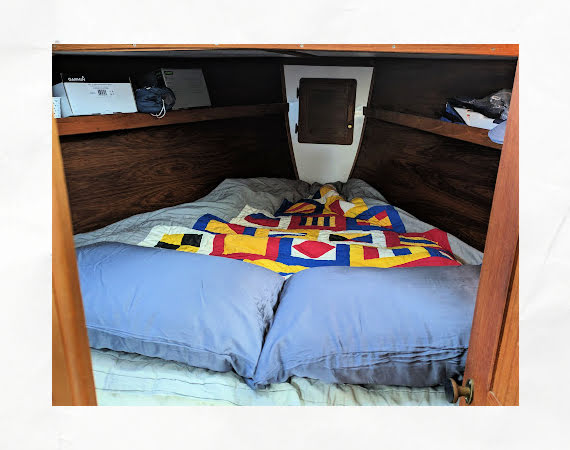
After we launched Meraki and moved aboard, it felt like we were living in a garage or a workshop. Tools, parts, and piles were everywhere. We overheard another boater use the term “vberth sanctuary” and learned it was their way to have a place to sleep after a hard day’s work on projects. Great idea! Most days, we followed our motto to keep tools and gear out of the V-berth. Since our galley was not part of our “sanctuary”, being able to use the clubhouse kitchen for meals was a huge help!
Tea Time with a friend
Social visits are a great way to keep spirits high so I arranged to see one of my long-term friends who lives in the Bayfield area. Our conversation spanned a variety of topics, but you might like to listen in to the part about boat projects:
“What kind of projects are you doing on your boat?” Mershawn asked as we sipped our chai tea lattes at The Black Cat Coffeeshop.
“It’s easier to say what we aren’t doing!” I reply with a chuckle.
“You said that last time about Terrapin”
“Yep! And here we are again. The main difference is we’re doing this boat refit in a more condensed time frame!”
What Boat Projects Did We Do?
Bottom
We replaced two hull transducers. The old ones and the new ones were different sizes. This meant fiberglassing over the old and redrilling for the new transducer.
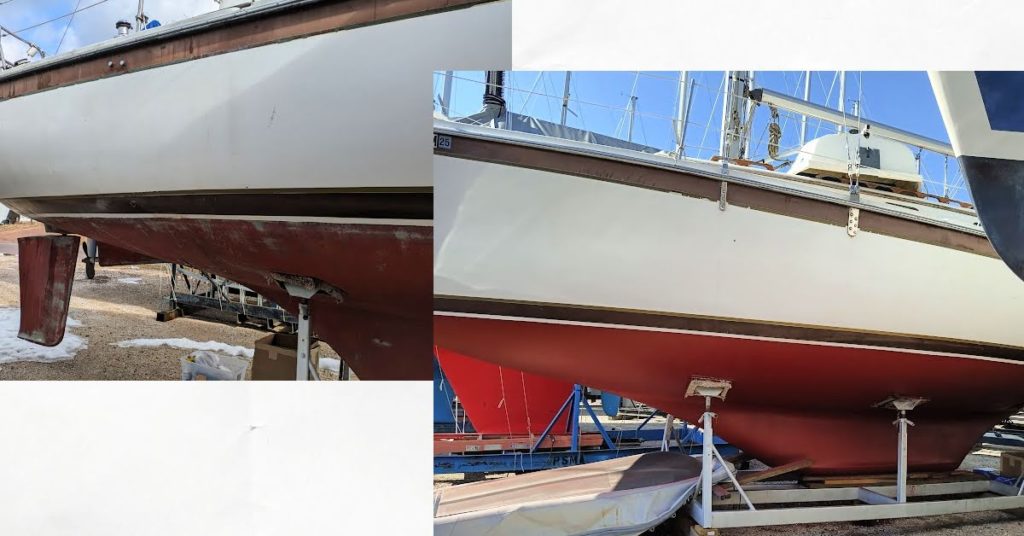
The bottom paint was wearing thin. Tony says “thin” is a generous statement. When the spring temps rose above 40, we got busy sanding and painting the bottom. We had hoped to wait until temps rose above 50, but we were thankful when we saw a day above 40.
Swim Platform
Our Compac is a 33’. Compac also makes a 35’. The difference between the two is the 35’ has a sugar scoop. Since we don’t have a sugar scoop, we decided to add a swim platform as a solution between using a stern ladder vs having a sugar scoop. It was an expensive addition, but we’re viewing it partially as a safety item (easier to get in and out of the dinghy or for a swim) and partly as a luxury item (nice place to lounge near the water).
Installing The Swim Platform
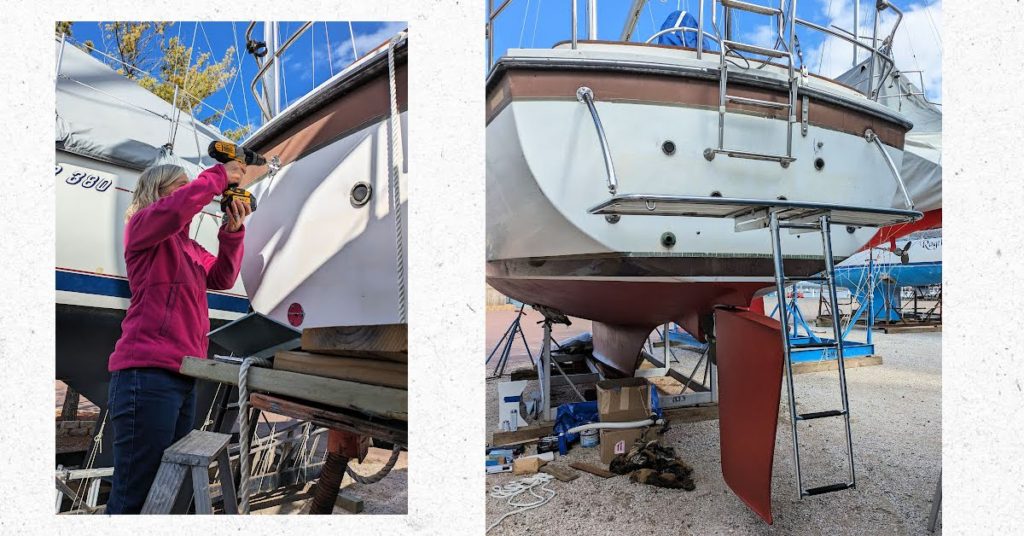
After getting the swim platform positioned correctly, installing it on the starboard side went smoothly. Tony did the work from the inside and I was on the outside. To access the inside, there’s a large cockpit locker on the starboard side.
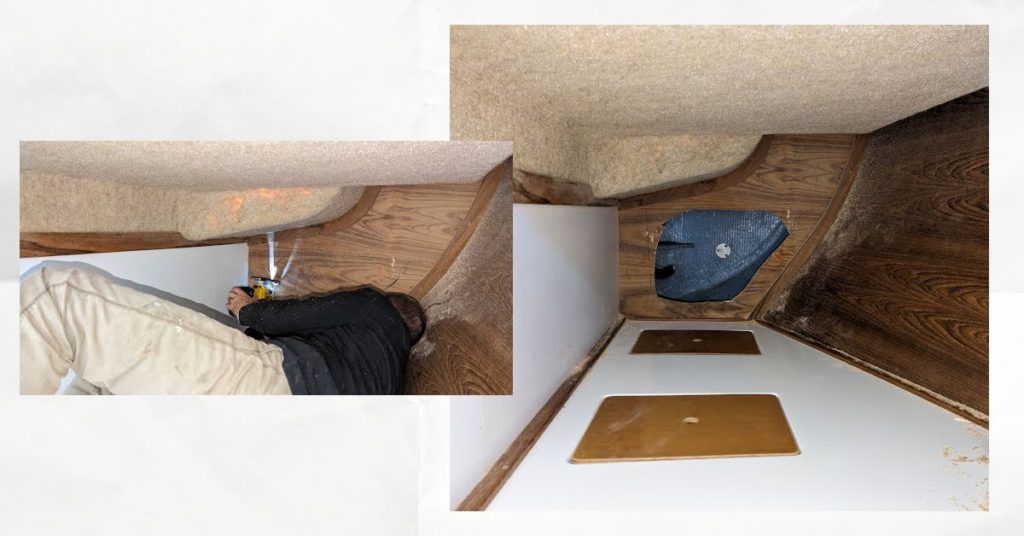
Now let’s move to the port side. “How are you going to install the backing plates and bolts on the other side?” I asked. “I’ll just crawl through the opening between the fuel tank and the steering quadrant.” He tried just that. As he was inching his way forward, his common sense prevailed and he backed out.
Since I’m a little smaller than him, I offered to give it a try. “If I get to the other side, will I be able to sit up and turn around to get out head first?” I asked. “I’m not sure” was his honest answer.
“Why don’t we just cut an access hole at the bottom of the quarter berth?” I suggested. And that is what we did. Neither of us liked the idea of getting stuck down in the engine area!
Anchoring System
We switched the anchoring system to our favorite anchor, a Spade, and we’re going with all chain rode.
Manual Windlass
There was no windlass on Meraki when we bought her. Deciding between an electric or manual windlass wasn’t an easy task. Back and forth we went with the pros and cons of budget, battery draw, physical effort in anchoring, and simplicity. We had a manual windlass on Terrapin and it worked fine. We also know how nice it is to have an electric windlass from our sailing with Doug and Amy on Black River. The idea of lower cost, simplicity, and less draw on our batteries tipped the scale to go with a manual windlass.
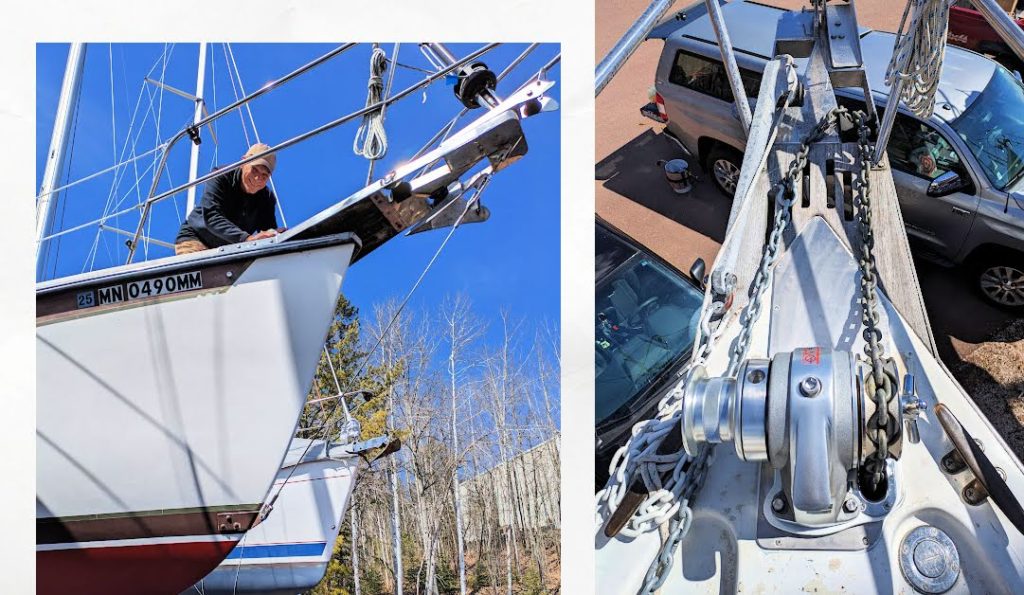
Fortunately, our son Jordan has the skills to make things with metal. Tony drew a pattern of the metal base area for the windlass and Jordan made it over the winter months. One of the first projects in April was to install the windlass. The base fits like a glove! Thank you, Jordan!
All New Electronics
Some seniors keep their brains sharp with crossword puzzles or reading books. We are exercising our brains with boat projects!
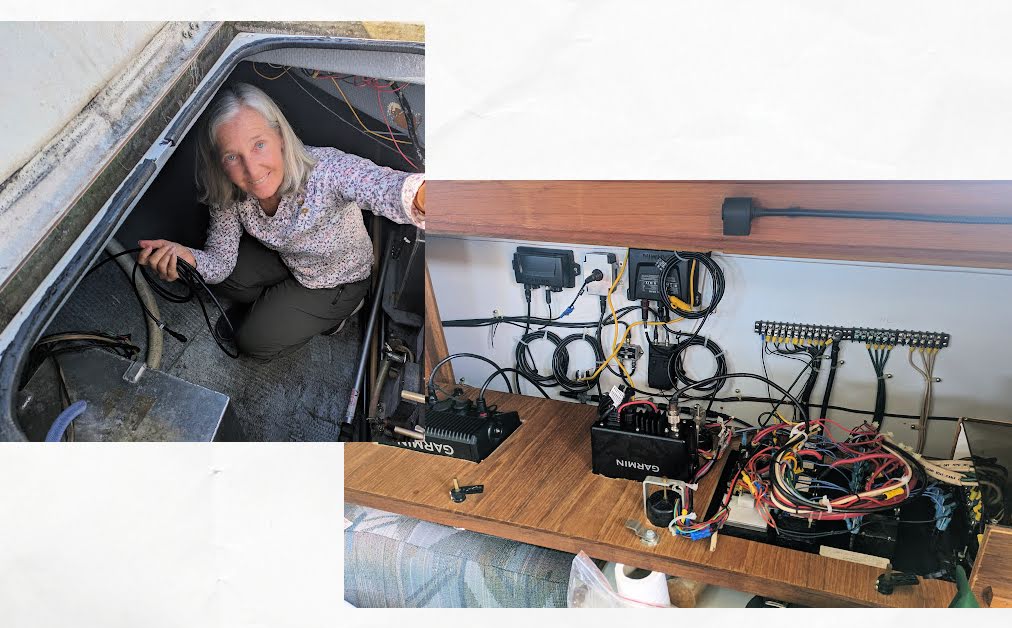
Electrical is not Tony’s strong suit, but he was up to the challenge of installing our new Garmin instruments. Step by step, he figured it out. Oh, what a sense of accomplishment he felt when we turned on the devices and they worked!
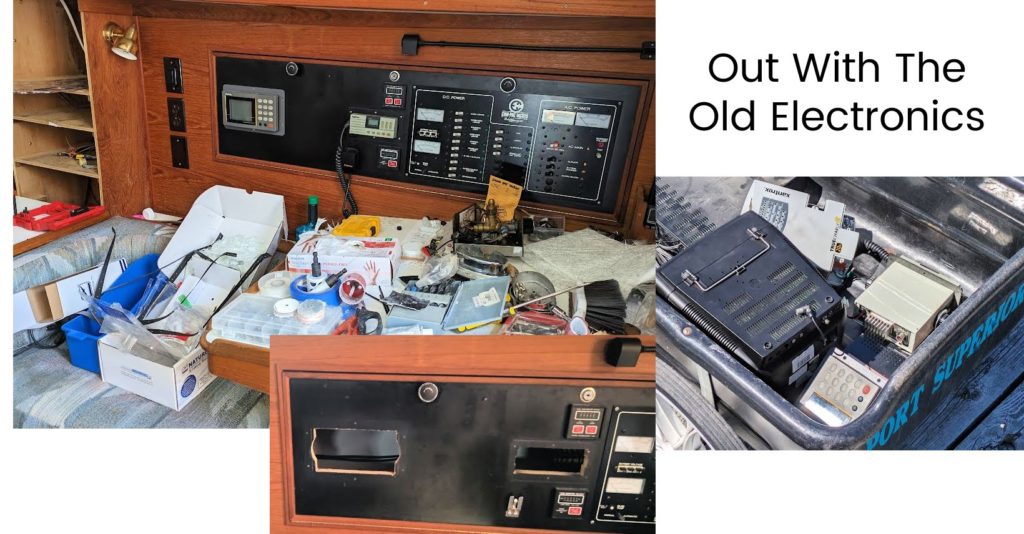
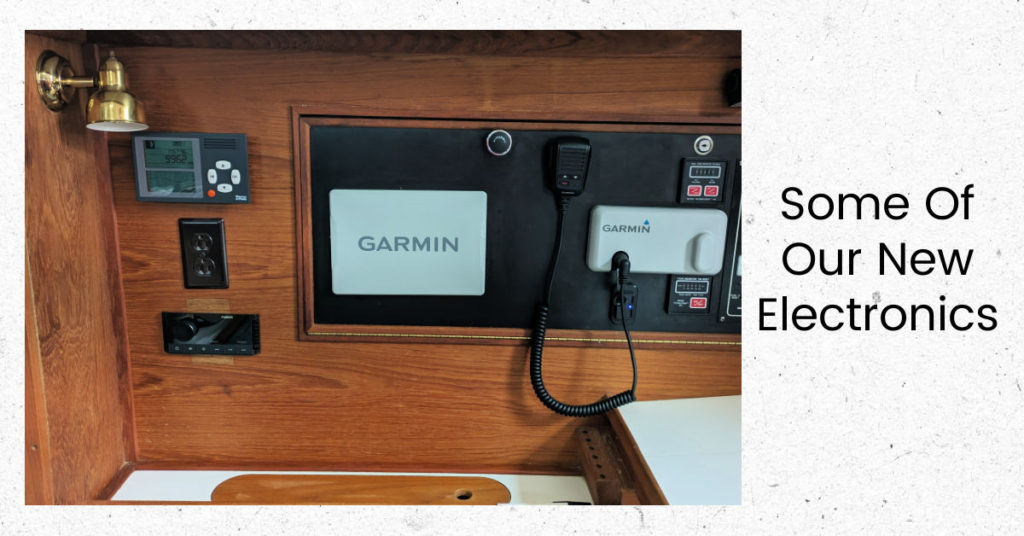
The next step will be learning to calibrate our new instruments and how to use them! We’ve had some humorous attempts at pushing buttons. It’s time to watch a few more instructional videos. This stuff does not come intuitively to us. I suppose we could ask one of the grandchildren to help us out!
Sirius Weather and Radio
This is going pretty much the same as the Garmin instruments installation. It is installed and powers up. Now we need to learn how to use it. Stay tuned!
Propane System
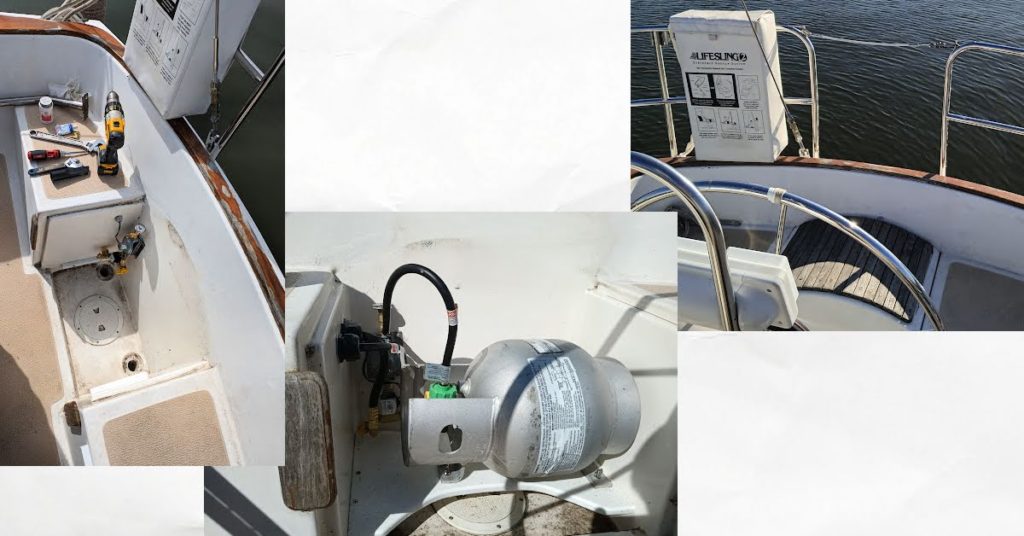
Meraki came with CNG for the heater and stove. CNG is not easy to find while cruising so we opted to switch to a propane system. We removed the CNG tanks and stove and gave them to someone who could use them at their cabin.
The next challenge was deciding where to put the propane tank considering venting and size. Over the rail or under the helms seat were our two main choices. We opted for under the helm seat.
Heater
We were thankful to find a kit to convert our heater from CNG to propane. With the cold temps on the Great Lakes, we imagine the heater will come in handy to take the chill off at night or in the morning.
Stove
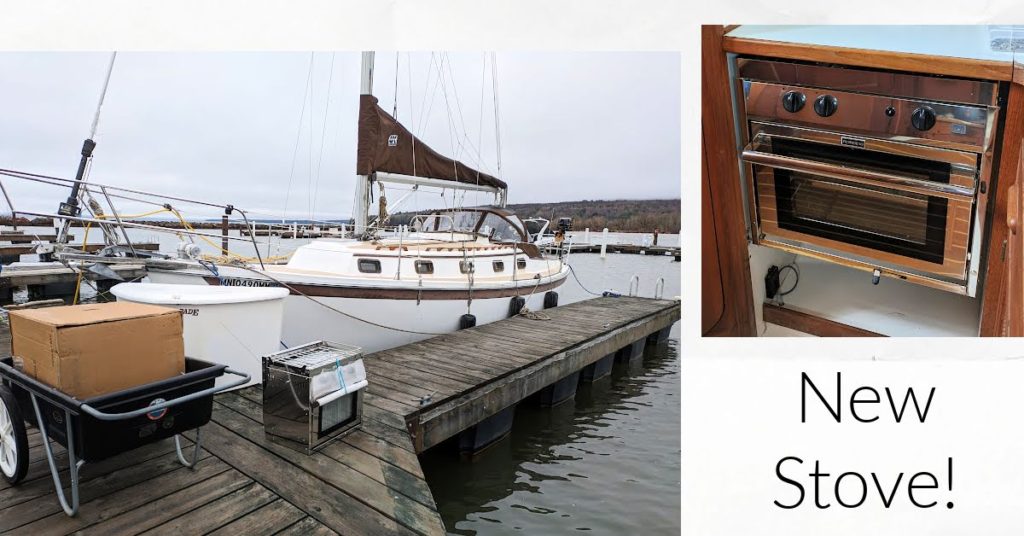
One big criterion for choosing a new propane stove was the dimensions. We measured and remeasured a few times before ordering our new propane stove and oven. Thankfully, it fits the space perfectly!
Bimini
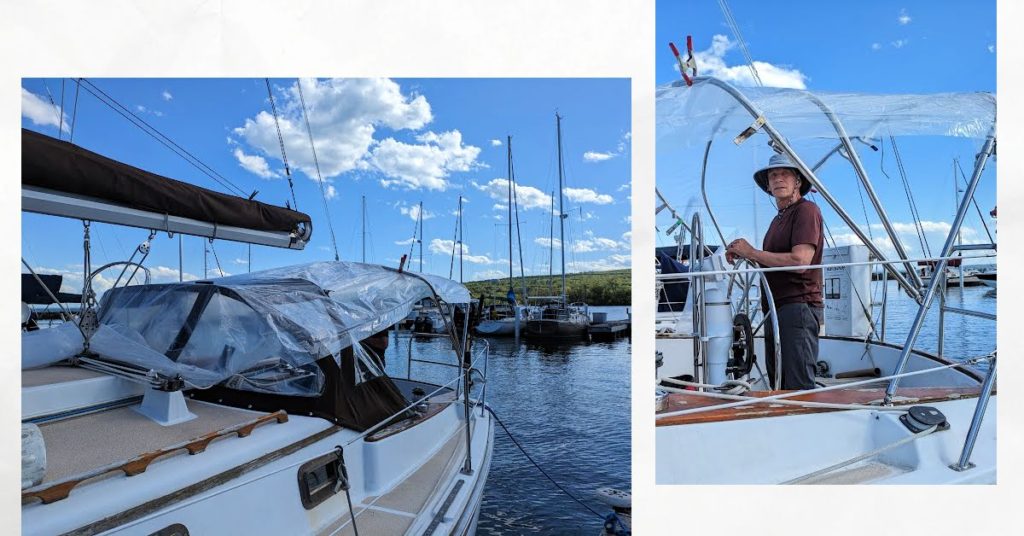
This is one project where we are not taking the DIY route. ShipShape Products in Duluth is making our Bimini. The bows are on and the pattern is made. Soon we will have shade!
Solar Panels
Where to locate solar panels? We went full circle on our thoughts for solar panels on Meraki. At first, we believed we wanted fixed frame panels, not flexible ones. We looked into mounting them above the bimini, on davits, or the side rail (we’d need to switch to rigid rails, we have lifelines). Oh, so many hours researching, discussing, and trying to decide! Our conclusion is we’ll go with flexible panels in pockets on top of our bimini.
Water System
The pressurized water system had some leaks and needed a few upgrades. If you want to hear the story about the leak in a fitting behind a bulkhead with no access, ask Tony. When I hear “I’m going to cut out some of this wall”, I’ve learned not to let it phase me. Only this time, instead of cutting, he was ripping it out, oh my!
New Faucets
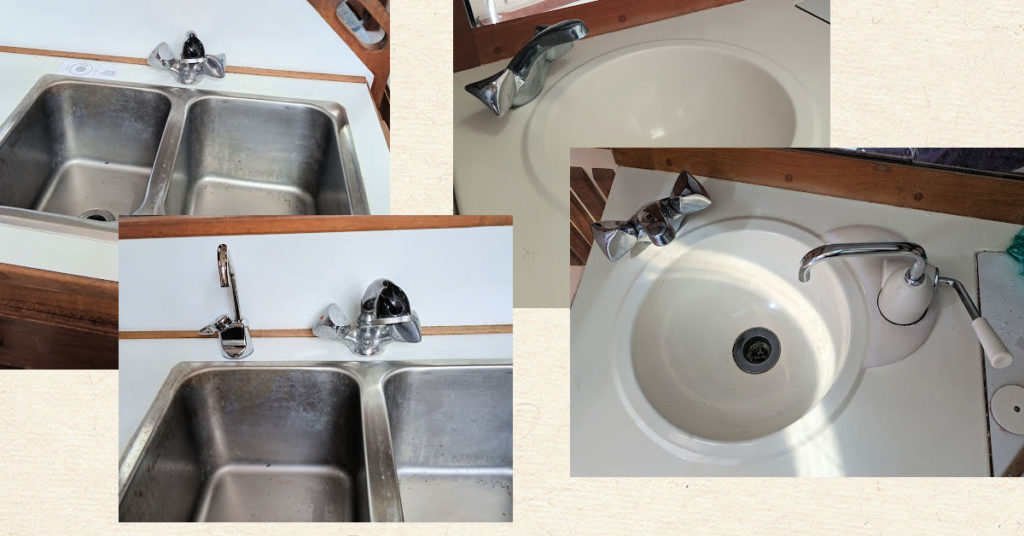
We added a couple of new faucets; one to filter drinking water and a hand pump faucet. Some projects go quickly and others take way too long. With our water system, after hours of troubleshooting why we had air in our water system, we realized we had a defective hand pump.
Watermaker
Where to put the watermaker was another decision that went around and around. Figuring out the locations for boat equipment is sometimes the hardest part of the project. For our watermaker, we need to think about intake thru hull, brine discharge, space for pumps and filters, and distances between all the components. This project is still in progress, but at least we have the location decided!
Engine System
Last August we had trouble with our engine and discovered water in our fuel tank. The marina assisted us with removing the existing contents of the tank. It appeared to be a mix of water, diesel, gasoline, and sludge. To prevent rainwater from getting in the tank in the future, we replaced the O-ring on the fuel cap.
Over the winter, the marina mechanic replaced our dripless.
After launching this spring, the marina mechanic suggested getting a different fuel filter because our current one did not have a functional bleeding valve and it was difficult to change the filter. Tony agreed, removed the old one, and installed a new Racor 500. He chose the Racor 500 to make changing the fuel filter easier while cruising.
Compost Toilet
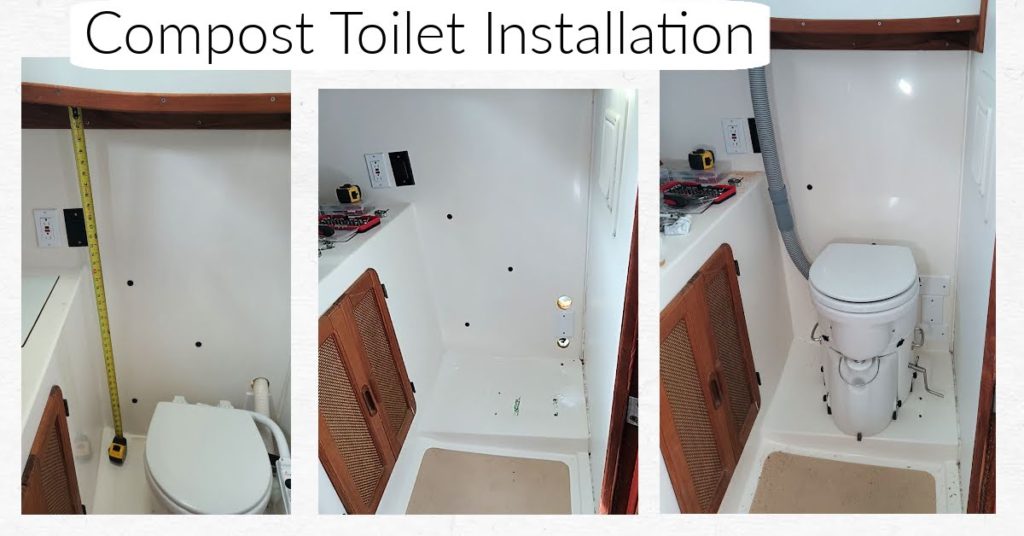
We loved having a compost toilet on Terrapin and wanted the same on Meraki. So Tony removed the traditional toilet and hoses and installed an AirHead Compost Toilet. Because this was a repeat from Terrapin, Tony had experience with this project. One difference on Meraki was where to vent it. Our head is located near the aft in Meraki and if we vented straight up, it would be under the dodger. Probably not a good idea! Out the back it goes. The vent is on the stern.
Davits
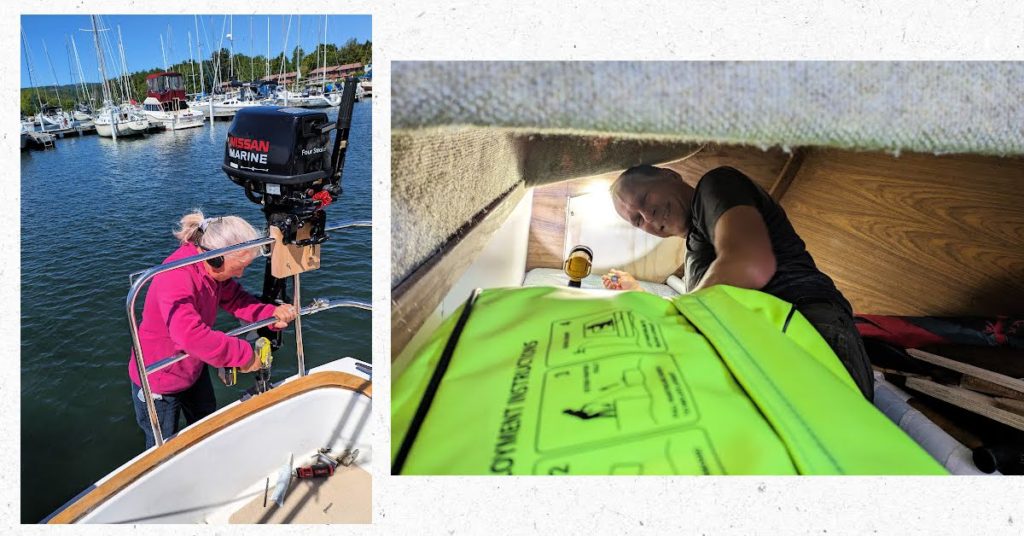
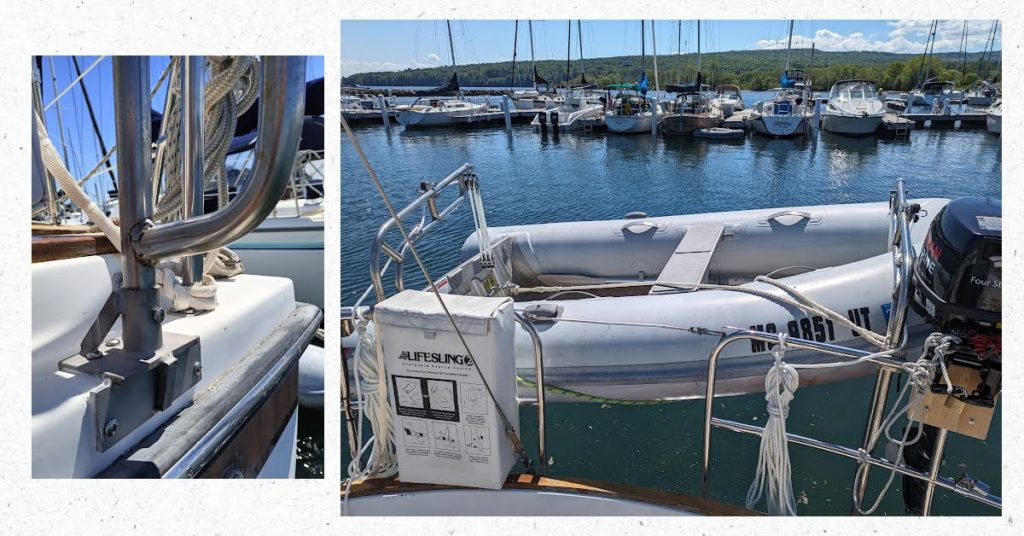
Davits were on our list of projects, but as other project costs were adding up, we moved davits down the list as a lower priority. Then one day while chatting with another boater in the yard, the topic of davits came up. Chris mentioned an idea, “I have some old davits I can sell you if you want.” Yes, please! He sold them to us at a bargain price, Jordan made us new bases, and we purchased a 6 & 1 block and tackle set. Woo hoo! We have davits! It was easy to install the davits with the nice access panel we had made during the swim platform project. Using our Sena headsets to communicate with each other also helped things go smoothly.
Refrigeration
This item is currently pushed towards the bottom of the list. At some point, we’ll get refrigeration for Meraki, but, for now, we’ll manage with a cooler. I may need to review my no-refrigeration cookbook by the boat galley! Tony added insulation to the cooler so it will function better either way; as a cooler and when we add refrigeration.
Odds and Ends
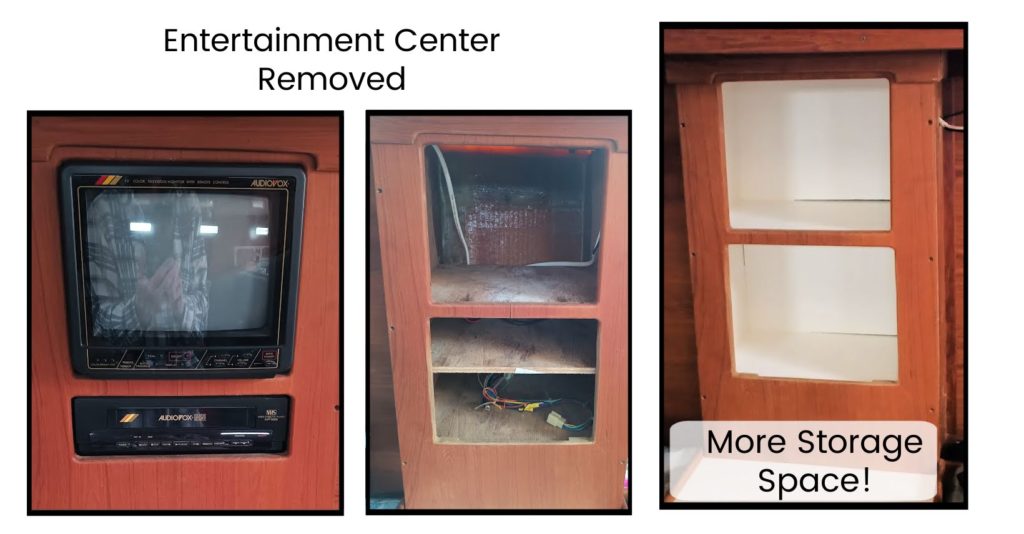
There are many small projects that all add up to prepare Meraki to take us on adventures. Here’s a sampling: added a halyard for a gennaker sail, switched to LED lighting in the cabin, removed the entertainment system, and put our name decal on the hull. (Our turtle decal is on order.)
Why are we doing this?
It’s mid-June now. We still haven’t left the dock. But, we can see the light at the end of the tunnel.
Soon, very soon, we will –
“…throw off the bowlines. Sail away from the safe harbor. Catch the trade winds in your sails. Explore. Dream. Discover. ”
Of course, we realize there will always be a certain amount of boat projects – just as you have ongoing car maintenance or house projects. Once the bulk of our refit is completed, we’ll happily tend to the details or future improvements as we go. Ongoing boat projects and maintenance are just part of the cruising lifestyle and add to the charm of life afloat.
“A ship in harbor is safe, but that is not what ships are built for”
Wow!
Holy Sh*t!
Pretty much a new boat!
The swim platform will transform it! Having had a boat with and without, even though it is not an actual walk through sugarscoop, the difference in landing the dinghy or from swimming is night and day.
We hope you take the long way around some day and swing through nova scotia.
She looks great. 👍
Glad to hear about your experience with and without a sugarscoop. It helps confirm our choice to prioritize that addition! Swinging through Nova Scotia on our journey is tempting, you never know with us, we might just do that.
WOW is right, the work doing the refit, Yes, now like a new boat ! It is beautiful, beside having it upgraded the way you want it and will enjoy sailing in it! Such wonderful life style, do enjoy!
Triple WOW, you have transformed her & truly excellent job with the refits, they look fabulous! Maybe a little bit longer at the dock but worth every minute, now you have exactly what you want. I can tell she’s pulling at the lines to get going 😉 Excited to hear where you will head……fairwinds Meraki!
Patience, patience, patience has been a key word for me lately while sitting at the dock. I agree it will be worth the wait. I’m excited to see where we head!
It has been nice to refit a boat with different features and favorites we’ve learned about over our years of boating. Soon we’ll be able to switch from boat system projects to cleaning up and beautifying her with a good wash and some wood sanding and sealing. Then she’ll really shine in both function and aesthetics!
Amazing! And, at the same time a reflection of lifelong learning. Congratulations on your progress and the beautiful and functional results. I am picturing the work and the joy you’ll have in sailing those waters. It all adds up, doesn’t it (in many different ways). Thanks for the the smiles as I read this morning. 🙂
Beauty and function, work and joy – I love thinking of how things connect and add up in many different ways. Our sailing adventures provide ample opportunities for reflection and growth. Yes, I’m an advocate for lifelong learning!
Looks like a lot! You guys keep talking about it… I’m going to have to come and see it!
We’d love to give you a boat project tour!
I know you’ve both been working like crazy, but it’s quite something to read your comprehensive list! You two are amazing, and I want to come see all your work on Meraki as well! Cheers to you both.
Yes we’ve been working like crazy and trying to not go crazy! For sure we’ll have you come for a visit and project tour onboard Meraki.